
Before you launch your ecommerce site, you’ll need to set up your payment gateway. Think of your payment gateway as the card machine on your shop counter – you use it to take payments from your customers. We support the use of PayPal and you can find instructions on how to find the required information here: https://www.paypal.com/uk/smarthelp/article/how-do-i-request-api-signature-or-certificate-credentials-for-my-paypal-account-faq3196
Configuring the payment gateway for your ecommerce site
To add a payment gateway to your Nimble ecommerce catalogue, you log into your LMS and then:
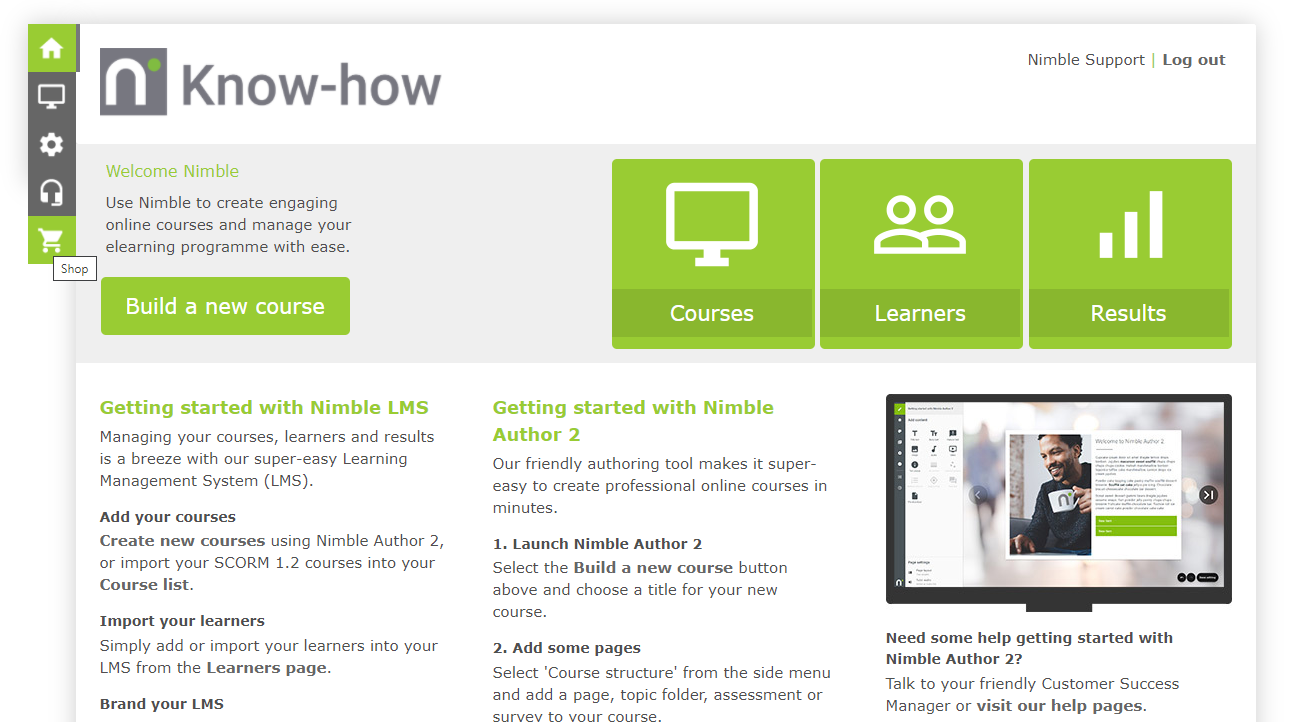
- From the LMS home screen, click the
 Shop button in the top left nav bar (if the Shop button is missing, just contact your Customer Success Manager for help).
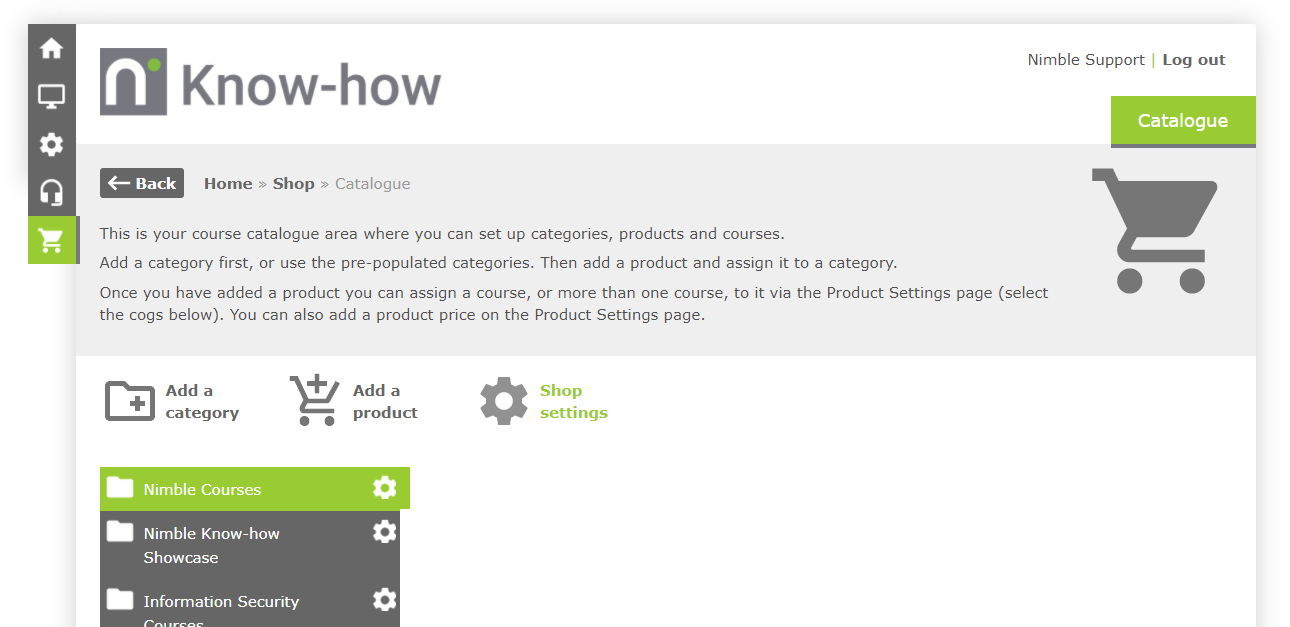
- To configure your payment gateway, click the
 button.
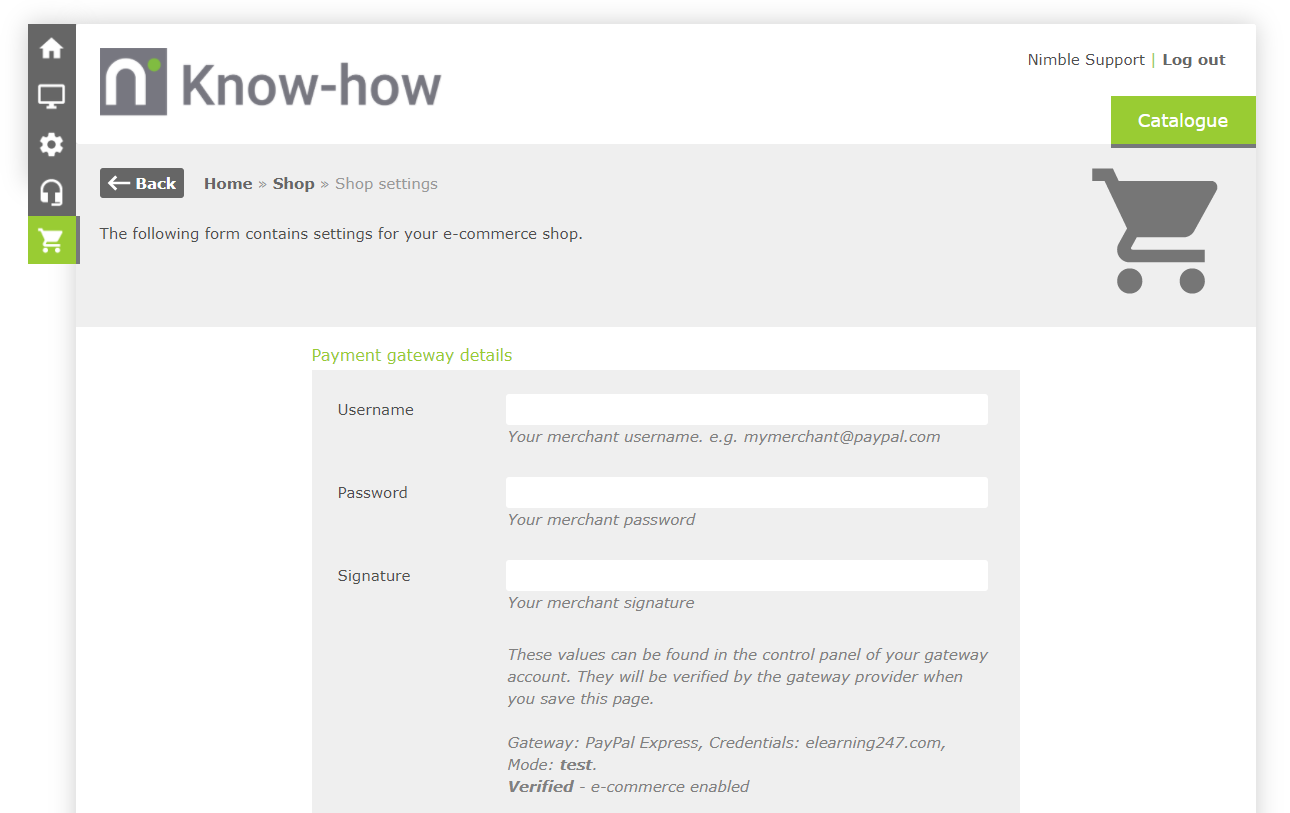
- Complete the fields as required and then click the
 button:
- Username – Your merchant username
- Password – Your merchant password
- Signature – Your merchant signature
- Mode: test – Un-tick this to enable the use of your payment gateway
- Learner catalogue instructions – This text is displayed to learners when they are browsing the catalogue – you can edit it here.
- Learner catalogue terms and conditions – If you have a terms and conditions page elsewhere on the web, you can add the URL here.
- Payment description – This text will appear next to payments in your payment gateway’s administrative panel.
Comments
0 comments
Article is closed for comments.